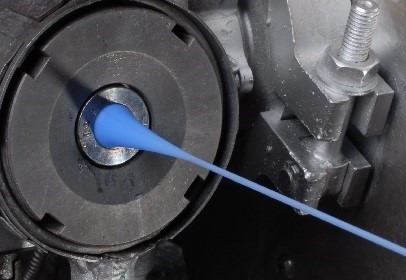
How to detect surface defects on fine wires ?
FIND OUT
When we think of measuring a wire or cable, we most often think of measuring its geometry, its electrical performance or its electrical insulation. However, its external appearance is also of great importance for technical or aesthetic reasons, such as color, roughness, uniformity, cracks; in other words, its surface aspect. Manufacturers of fine wires are particularly interested in coating or plating defects during the manufacturing process.
What is the solution for wire defects?
Numerous devices on the market allow the geometrical defects of these wires/cables to be checked. However, when it comes to surface analysis, the choice is limited. And when it comes to analyzing and detecting surface defects in-line such as a lack of plating or scratches, solutions are scarce or quickly limited.
It is, of course, out of the question to use technologies that are intrusive or that could destroy the coating deposited on the wire/cable. Nor should techniques be used that can only be applied to samples offline. For post-production analysis, many technologies and measuring devices already exist. These include more or less advanced microscopes for surface characterization. However, it is still difficult to conduct an analysis of the entire surface and the result is usually an analysis of the cross-section or a 2D view of the object being analyzed. When it comes to live measuring during the manufacturing process, not all of these technologies can be applied. While there are high-resolution cameras on the market for triangulation measurements of illuminated objects passing in front of them, they are limited for objects much larger than a millimeter and have rather slow speeds.
Surface quality measurement:
CERSA MCI’s solutionThe need to detect in-line surface defects on very fine wires during the wire drawing process is not new. CERSA MCI’s solution could provide you with the means to make corrections to the process in near real time and therefore reduce waste and rework, instead of detecting and compensating them in the post-production phase.
CERSA has received many requests, based on its experience, for a solution capable of meeting this customer need, and has been working with its R&D engineers for many years to come up with a truly innovative solution. Indeed, this device had to be able to continuously detect minute defects over the whole circumference of fine wires on high-speed lines. CERSA's answer is SQM (Surface Quality Measurement). After having undergone numerous validation tests at its customers' premises, it is now available on the market for the detection, analysis, and characterization of surface defects of fine wires.

A patented technology, it works like a ring camera around the circumference of the wire. Powerful, real time signal computing, combined with fast sensors, to analyze the surface and reconstruct the image of the surface, which is then displayed in 2D. Depending on the detection parameters set by the technician, alarms are generated when defects are deemed to be faults. The image of the defect can then be displayed on the PC screen for further analysis. The CIM Prod software also offers many features for statistical analysis of defects.
This is a complete solution to benefit our customers for the continuous improvement of their manufacturing process.
Our articles related
Contact the company CERSA MCI
Do you have a specific control and measurement need?
Are you looking for a high-performance control device?
You wish to request one of our services?

.jpg)

