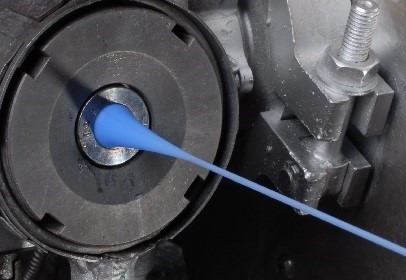
How to measure wire and cable diameter ?
FIND OUT.jpg)
What interests us here is the use of a measuring instrument installed on a production line for continuous measurement. Manufacturers wish to obtain live information on the geometry and possible defects of the manufactured product in order to make adjustments at the earliest possible stage of the process. This is so as to reduce material waste to a minimum and improve the overall quality of their production.
In another article, we explain how to use a measuring device to measure diameter and ovality off-line.
Cable and pipe diameter measuring too
Depending on the type of process (extrusion or fine wire drawing) and the type of product manufactured (wire, cable, pipes), it may be necessary to install several devices on the production line, at the end of the process, or between each step of a process, to control many parameters. Of course, there are a large number of measuring instruments available for this purpose. In this article, we limit ourselves to checking the diameter, ovality and detecting geometrical defects of the coating.In a harsh production environment (dust, water splashes, fumes), it is important to have equipment capable of withstanding these stresses. Wire or cable vibrations are also a major problem for measuring instruments. The last important point to take into account in the choice of a device for on-line measurement is its acquisition speed. Indeed, in order to detect defects on production lines that are going ever faster to increase productivity, it is important to install a very fast device.
Laser micrometer with several axes
Depending on the size (diameter) of the wire, cable or tube to be measured, and the type of measurement (diameter alone and/or geometrical defects), CERSA offers several specific devices :
The LDS range is specifically designed for the measurement of fine and very fine wires (5 to 2000 µm) obtained by the wire drawing process:
- The 1-axis version measures the diameter very accurately in one direction only. In this case, it is difficult to effectively calculate the ovality of the wire produced. However, it allows one to check regularly and indirectly wear on the die without having to stop production and check its geometrical characteristics off-line. It is often used by manufacturers for to control drawing dies by measuring the drawn wires.
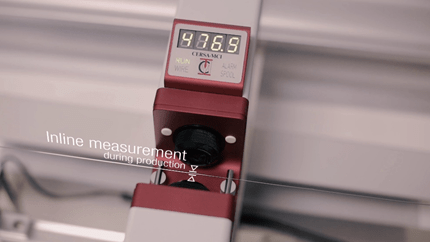
- The LDS is also available in a dual axis version. With these 2 axes of 90° measurements, the combined calculation of the diameter allows one to obtain an ovality value closer to the geometrical reality of the wire controlled. This measuring device is often installed at the output point of drawing machines for continuous diameter control of fine wires. Many manufacturers have chosen CERSA to supply reliable and high-performance measuring devices for their production lines.

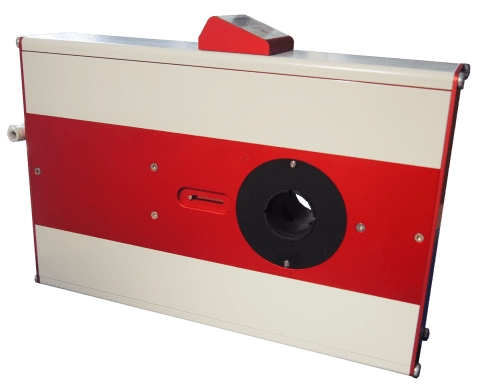
For larger diameters of wires, cables and tubes (0.3 mm to 5 mm), especially for the extrusion process, it is important to continuously measure the diameter but also to detect geometrical defects. This is why CERSA has developed a range of devices, called LPS, using the shadow measurement principle.
IMAGE 3
- with 3 measuring axes, it covers almost the whole circumference of the object and thus can calculate very precisely its ovality. Moreover, thanks to its measuring speed, well beyond what the competition offers (20,000 measurements/axis/second), the LPS acts as a flaw detector. It is capable of detecting and characterizing lump & neck type defects. It is an all-in-one device capable of outstanding performance.
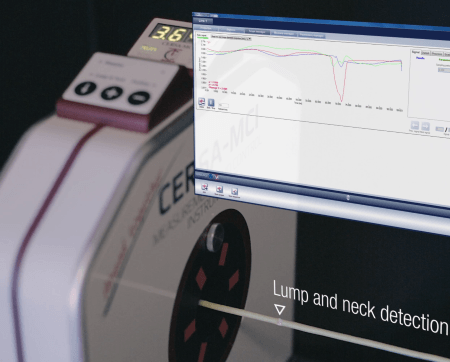
Now available in the LPS005 version for diameters from 0.3 to 5 mm. That range will soon be extended with devices capable of measuring larger diameters.
Our articles related
Contact the company CERSA MCI
Do you have a specific control and measurement need?
Are you looking for a high-performance control device?
You wish to request one of our services?

.jpg)
